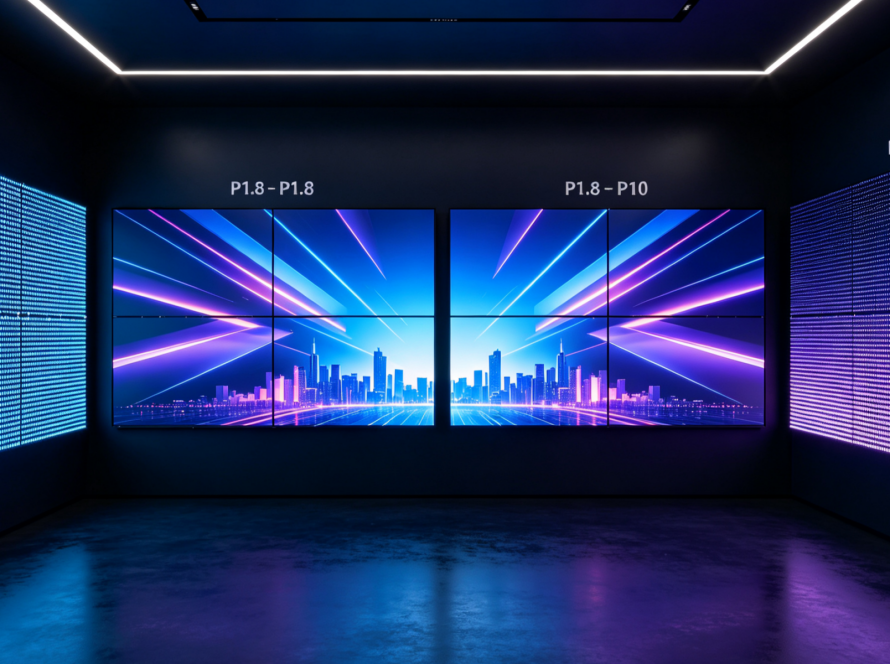


Outdoor LED displays are widely used for advertising, stadiums, transportation, and public information. Proper installation is essential for ensuring stable performance, weather resistance, and a long service life. This beginner-friendly checklist covers the key points to consider before, during, and after installation.
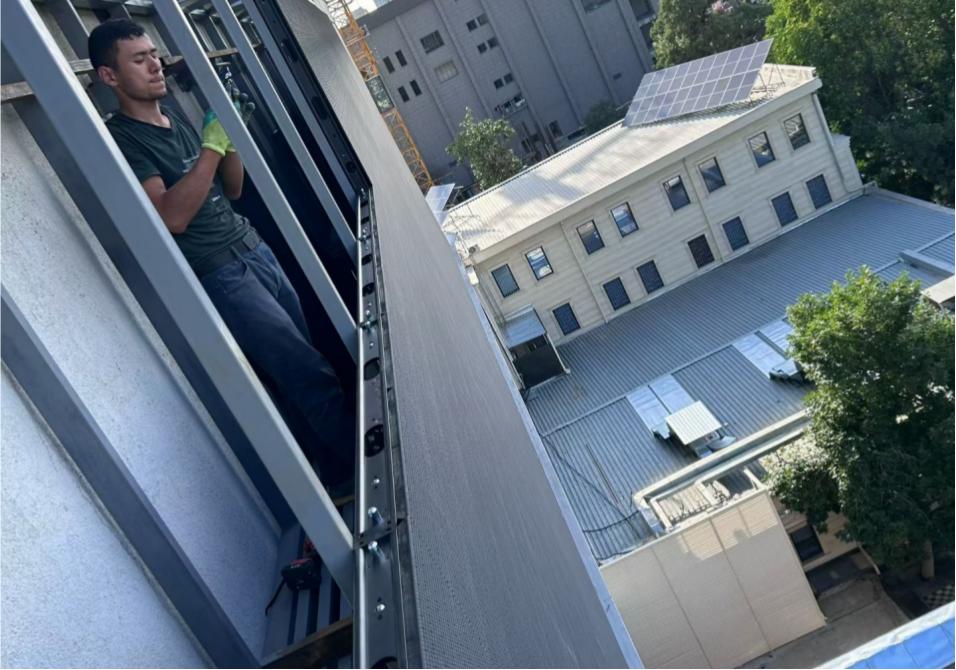
1. Check the Installation Location
Before installation, make sure the site meets the basic requirements.
- Strong mounting structure
- Stable power supply
- Good viewing angle
- Easy maintenance access
- Enough ventilation
2. Prepare the Necessary Components
Confirm all equipment is ready before installation.
- LED display cabinets
- Power supply
- Controller
- Signal cables
- Power cables
- Mounting brackets
3. Install the Cabinets Correctly
When assembling the LED screen:
- Keep cabinets aligned
- Tighten all screws securely
- Avoid damaging LED modules
- Leave enough space for maintenance
Proper alignment helps achieve a seamless display.
4. Connect Power and Signal Cables
Double-check every cable connection.
- Separate power and signal cables
- Use waterproof connectors
- Secure loose cables
- Verify cable labels
Incorrect wiring may cause display failures.
5. Test Before Operation
Before putting the display into use, inspect:
- Image quality
- Brightness
- Color consistency
- Signal transmission
- Waterproof sealing
Running a full test helps identify problems early.
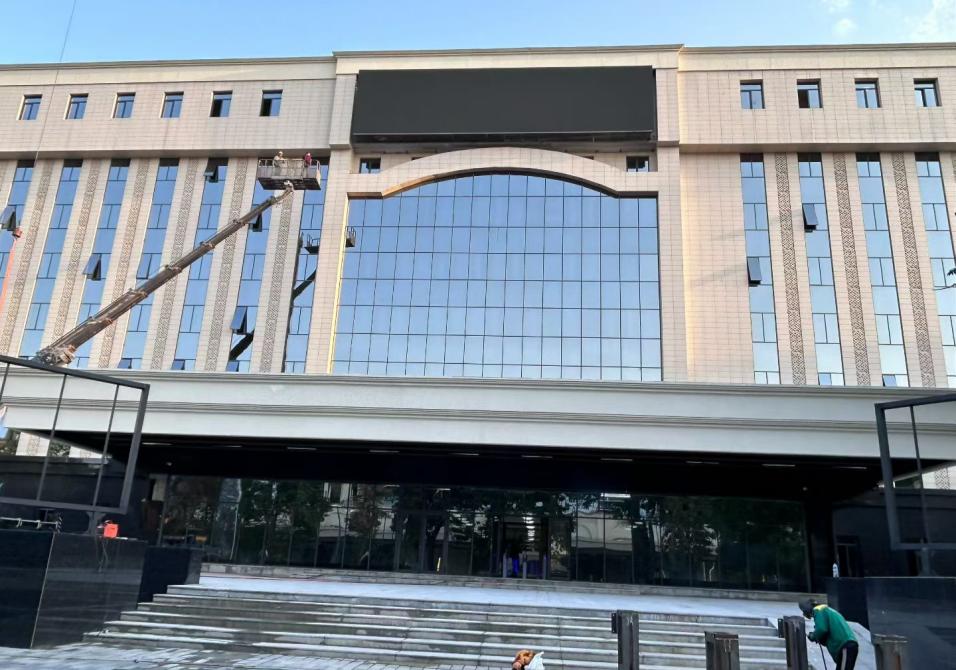
Common Installation Mistakes
Beginners often make these mistakes:
- Poor cabinet alignment
- Loose cable connections
- Insufficient waterproof protection
- No grounding
- Skipping system testing
Avoiding these issues can improve both reliability and lifespan.
Installing an outdoor LED display doesn’t have to be complicated. By following a simple installation checklist, you can reduce errors, improve display performance, and ensure long-term reliability. Whether you’re installing a fixed advertising screen or a commercial digital signage display, careful preparation always leads to better results.